- Author Nora Macey macey@family-relation.com.
- Public 2023-12-16 10:17.
- Last modified 2025-01-23 08:48.
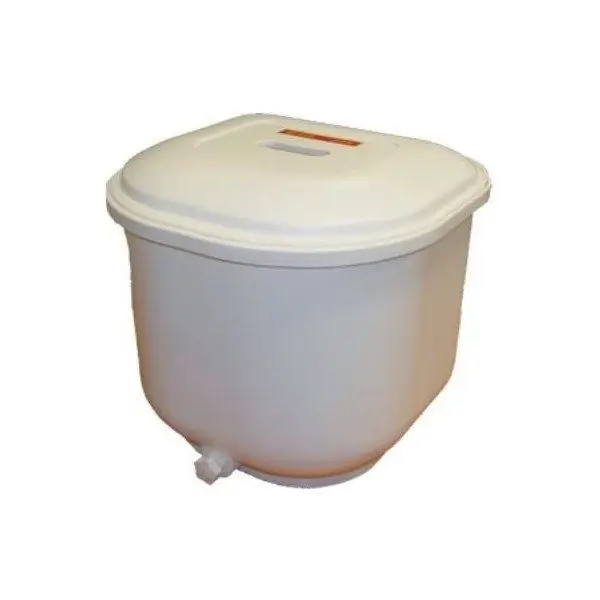
Small-sized machine "Baby" belongs to the class of non-automatic washing machines that do not have a squeezing device. The design of "Baby" is quite simple and it is quite possible to disassemble it on your own, without resorting to the help of professionals.

Necessary
- - screwdriver;
- - adjustable wrench;
- - drill;
- - screws;
- - nuts;
- - a piece of downpipe
Instructions
Step 1
The body of the "Malyutka" washing machine consists of 2 halves of the casing, interconnected by screws, a washing tank and a tank lid. The cover of the machine contains a switch, a relay, a capacitor and an electric motor. The switch is fixed to the casing with a nut and a locknut. The activator assembly includes a plastic housing, a steel sleeve, a rubber sleeve, a rubber gasket, and a steel spring. The Malyutka activator body is screwed onto the casing threaded flange.
Step 2
Make a key to remove the activator
In order to independently disassemble the "Baby" washing machine, you need to make a special key for installing and removing the activator. To make a key, you need a piece of water pipe, the length of which is 10-15 cm longer than the diameter of the activator body. Drill two through holes in the pipe body. The holes should be located symmetrically to the center of the pipe, 95 mm apart. Hole diameter - 6mm. Insert the bolts into the drilled holes so that they protrude from the pipe body by 1-1.5 cm. Fix the bolts to the pipe by tightening the nuts tightly. The key is ready.
Step 3
Remove the plug located at the back of the motor shroud. Align the hole in the casing with the hole in the plastic impeller by rotating the activator.
Step 4
Insert a screwdriver all the way into the rotor of the electric motor and lock it. The screwdriver must be inserted through the holes in the casing and impeller.
Step 5
Unscrew the activator body using the previously made key. To do this, insert the key into the hole in the activator body. It should be noted that the activator can have both left-hand and right-hand threads.
Step 6
Dismantle the washing machine tank. Remove the six screws. Remove the flange with parts.
Step 7
Remove the locknut and rubber nut securing the switch. Remove the washer. Unscrew and remove the bolts holding the casing body together. Dismantle the electric motor. Washing machine "Baby" disassembled.
Step 8
The Malyutka washing machine is assembled in the reverse order.


