- Author Nora Macey macey@family-relation.com.
- Public 2023-12-16 10:17.
- Last modified 2025-01-23 08:47.
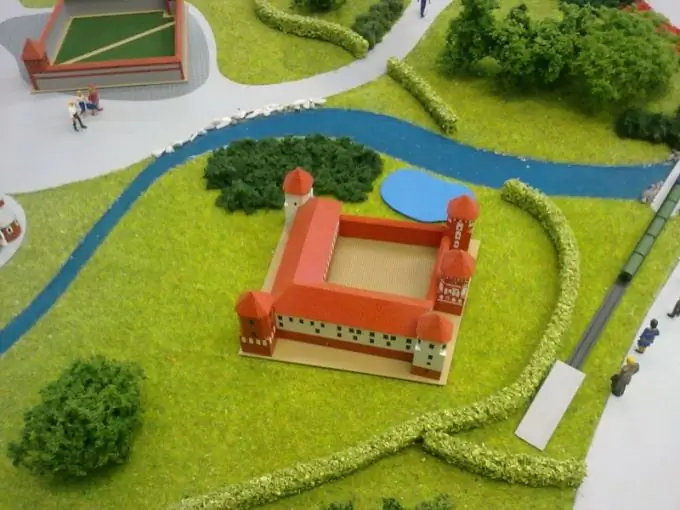
The ability to make layouts out of paper and other materials at hand can be useful not only for an architect-designer. It is also relevant for schoolchildren, because, in accordance with the new teaching standards, students must develop the ability to see objects in perspective. Anyone can make a model of the park with their own hands, for this you need materials at hand and a little imagination.

It is necessary
- - dry branches, moss, cones;
- - colored paper for applications, plain and velvet;
- - thick white paper or cardboard;
- - tracing paper;
- - glue brushes;
- - PVA glue;
- - a sheet of thick cardboard;
- - foam rubber;
- - ruler;
- - compasses;
- - a simple pencil;
- - scissors;
- - millet;
- - green spray paint;
- - plasticine.
Instructions
Step 1
As a prototype, you can take a park that actually exists in your city. In this case, you will need to find or order his plan. Using your imagination and ideas about the ideal recreation area for the townspeople, you can make a park project yourself, embodying it on a model.
Step 2
Go to the forest or park, collect dry branches, which in their shape will resemble the trunks and branches of miniature trees. Find and collect pieces of moss, small half-open pine or spruce cones. Spread a newspaper on the windowsill and spread everything out to dry.
Step 3
Draw park paths, lawns, flower beds on a piece of cardboard. If you are designing a park yourself, outline the outline of a small river. Design a central alley and a small area where a miniature monument or fountain can then be erected.
Step 4
Put a sheet of tracing paper on cardboard and copy the project onto it, transfer the contours of the vegetation cover, the river. Cut these objects out of the tracing paper along the outline. Using these "patterns" from opaque blue paper or foil, cut out the surface of the river, and from green "velvet" paper - lawns. The texture of this paper will simulate grass, and the shiny blue or blue foil will simulate the surface of water.
Step 5
Glue the paper-cut river and lawns onto the cardboard base along their pencil lines. To prevent the surface of paper damp from glue from warping after drying, press down the paper glued to the cardboard with some weight, for example, stacks of heavy books. Leave to dry completely for a few hours.
Step 6
Apply glue to the projected walkways, the central alley and the playground. Sprinkle the surface of the tracks with millet and smooth it so that the grains lie tightly to each other in one layer. If you want to imitate paving slabs, then millet, when dry, can be painted gray or brown with a brush and watercolor paint.
Step 7
Scroll a small piece of foam rubber a couple of times through a meat grinder, cover the resulting pieces with green paint from a spray bottle and let them dry well. Form the trunks and branches of the trees using sharp scissors. Cover the moss pieces with glue with a brush and sprinkle with green foam shavings. You will have branches and foliage. Glue them to tree blanks. Place the formed trees on a cardboard base, secure the trunks with plasticine.
Step 8
Paint the cones with green paint from a spray gun, dry them and glue them with the base down to the lawns, on the layout they will represent thuja bushes. From the remnants of moss painted in the same way, form bushes of vegetation and also glue them in different places of the layout.
Step 9
Make benches out of thick paper, or better cardboard - cut out the side surfaces, make slots for the seats and backs, insert rectangular pieces of cardboard - they will be the backs and seats. Make a couple of bridges out of paper over the river. You can make lanterns from cocktail tubes and plastic balls and put figures of people walking in the park.


