- Author Nora Macey [email protected].
- Public 2023-12-16 10:17.
- Last modified 2025-01-23 08:48.
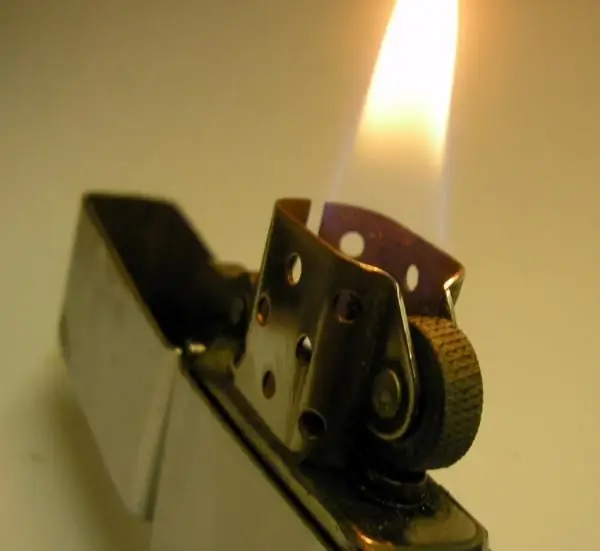
The Zippo lighter needs neither advertisements nor recommendations. Zippo is a symbol of quality and reliability, however, “eternal” values need some care.

Necessary
- - Zippo lighter;
- - new wick;
- - sharp scissors;
- - screwdriver;
- - tweezers or tweezers.
Instructions
Step 1
So, even the famous lighter, which will burn always and everywhere, also needs to be taken care of. In particular, she needs to change the wick. Yes, Zippo says in its ad that the wick will last forever, but if not the purest gasoline is used, the impurities in it can cause the wick to burn. When ignited, the wick may spark, or it may not ignite immediately at all - this means that the time has come to change it.
Step 2
Try using tweezers to slowly pull the wick up (of course, with a non-burning lighter). When the wick extends slightly upward, cut off the top with scissors - the one that protrudes above the edges of the windscreen.
Step 3
If this procedure does not help or you decide to replace the wick on the zippo completely, first remove the lighter insert. To do this, with one hand grasp the windscreen - the upper protruding part of the lighter, and with the other - the lower part of the body. Now look at the bottom of the insert. Did you see the screw head? It is he who holds the wick. Unscrew the screw carefully.
Step 4
The felt pad can now be removed from the insert. Then, using tweezers, remove the cotton filler and the old wick from the body. Take a new wick and thread it through the insert, carefully insert it into the hole from below, pick it up with tweezers from above and pull it up.
Step 5
When inserting the cotton filling back into the lighter body, place the long section of the wick between the layers. Carefully cut the top of the wick flush with the edge of the windscreen.
Step 6
Replace the felt flap and secure the structure with the screw. The screw must be tightened just enough so that the lighter fits well into the body. Before inserting the lighter into the housing, check that the flint is loose in place. If necessary, insert new flint. Assemble the lighter and check if it opens and closes well.


