- Author Nora Macey macey@family-relation.com.
- Public 2023-12-16 10:17.
- Last modified 2025-01-23 08:47.
Despite the popularity and availability of digital photographic equipment, film photography continues to attract interest. Shops selling old film cameras and photographic materials do not complain about the lack of buyers. There are several ways to print a photo from film.

Preparation
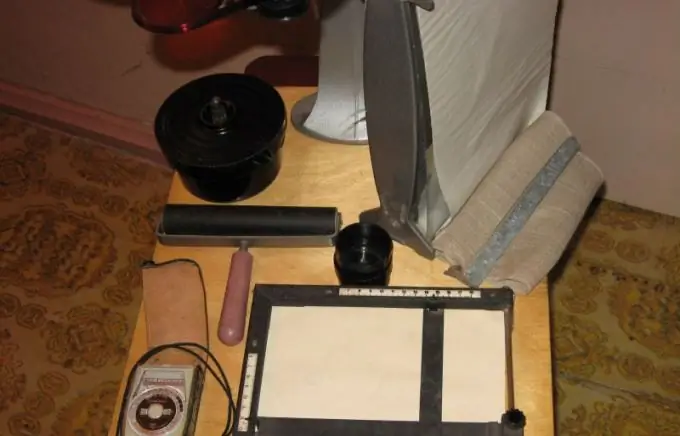
You will most likely not be able to print color photographs in the classic way at home. This process is far from harmless, and besides, now it is extremely problematic to get chemicals and some equipment. In addition, paper for color printing is practically not available. So it is best to take the film to a workshop, where photographs can also be printed. But if you can easily master black and white printing, since the equipment for it can be bought at a thrift store, and very inexpensively. You will need:
- photographic enlarger;
- Red light;
- 3 cuvettes;
- table or large board;
- tweezers;
- pelvis;
- running water;
- developer;
- fixer;
- table vinegar at the rate of 1 tbsp. for 0.5 liters of water;
- utensils for diluting chemicals;
- photographic paper.
Paper and chemicals can be purchased at specialty stores or online. Of course, you must first hand over the film for development or develop it yourself. This is done in a special tank, which can be purchased in the same place as the rest of the equipment.
Classic printing
You need to print photos in a dark room (for example, in a bathroom) under the light of a red lantern. Dilute chemicals according to package directions. The developer can be in powder, tablet or solution, or fixer. Place the equipment on the table. Pour the developer into one cuvette, the second with water and the appropriate amount of vinegar (for the stop bath), and the third with fixer. Place the basin in a bathtub or sink, pour some water into it. Insert the film into the enlarger frame. You can place a sheet of white paper over the wooden base of the magnifier to adjust sharpness and crop. Before opening the bag of photographic paper, read the required exposure. The paper can only be removed under red light. Turn off the light, place photographic paper on the base of the magnifier, remove the red glass and hold for as long as necessary (you can use a timer). Cover the lens with glass, dip a sheet of photo paper into the developer. Hold according to the instructions, then immerse the print in the cuvette with the stop bath for a couple of seconds, and then in the fixer. After fixation, rinsing follows in a basin with running water. Finished prints can be laid out on a smooth, water-repellent surface or polished.
Digital printing
This method is suitable for both color and black-and-white films. You will need:
- a scanner for photographic film;
- a computer with a program for a scanner and Adobe Photoshop;
- color printer.
Scan the film at the highest resolution possible. Save the picture to your computer. If you want a high quality photo, the tiff format is the best choice. Remember that you will get the minimum usable print quality at a resolution of at least 300 dpi. If a photo needs to be reduced, do it without lowering the resolution. Open the image in Adobe Photoshop, open the "Image" tab - "Image size" in the top menu, the checkbox in the "do not change aspect ratio" box. Set the desired image size. It should be remembered that even if you increase the geometric dimensions and resolution, this will not lead to real changes in the image dimensions. You can print from Adobe Photoshop, but it is better from any viewer, where you can set, including the position on the sheet.


