- Author Nora Macey [email protected].
- Public 2023-12-16 10:17.
- Last modified 2025-01-23 08:48.
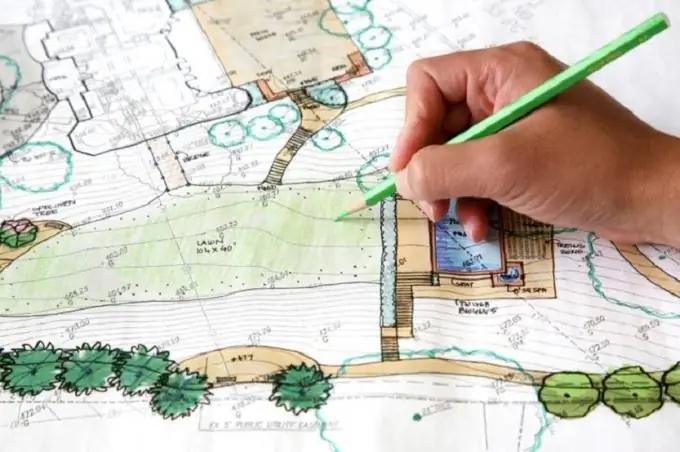
If you are the owner of a land plot on which a house has already been built, and now you are faced with the task of simulating the location of a garden, lawns, paths, then you need to make a general plan of the site before starting its design. You can plan the site yourself without involving expensive professionals.

Instructions
Step 1
First of all, you need to draw the boundaries of your site on the diagram. Take a piece of graph paper. A convenient scale for planning a site is 1: 100, that is, 1 cm in the diagram will be equal to 1 m on the ground. In the documents for your land plot there is a diagram of its boundaries on a scale of 1: 500, transfer them to graph paper, increasing all sizes by 5 times. All schemes in the documentation are oriented in the north-south direction, you also adhere to it when drawing up a plan.
Step 2
If the diagram from the documentation does not show the location of the buildings that you erected on the site, then make the necessary measurements with a tape measure. Add to your plan all buildings, shrubs and trees, even those that you intend to cut down, which are located in the area. If your site already has paved paths, then apply them to the plan. If there are any peculiarities of the areas located in the neighborhood - beautiful trees, distant views, indicate the direction to them. Mark the location of the gates and gates on the plan.
Step 3
Draw on the diagram all ground and underground communications, wells, switchboards, gas meters. Transfer contours from the topographic diagram from the documentation to display the existing relief on your plan. Apply to it all pits, reservoirs, if any on the site.
Step 4
Make several copies of your plan with translucent tracing paper overlaid on it. So you can work out several layout options and choose the most optimal one.
Step 5
Immediately mark on the plan the location of fences, pergolas, gazebos, barbecue areas. Select the site where the pool will be located, if you are planning one. Please note that this location should provide the best landscape views of your garden.
Step 6
Plan out the vegetation in the remaining free areas. Although your plan has a bird's eye view, try to visualize it at eye level. When designing tracks, professional designers take into account the following effect: diverging tracks visually reduce the distance, if the tracks converge, then they seem visually longer than they really are.


