- Author Nora Macey macey@family-relation.com.
- Public 2023-12-16 10:17.
- Last modified 2025-01-23 08:48.
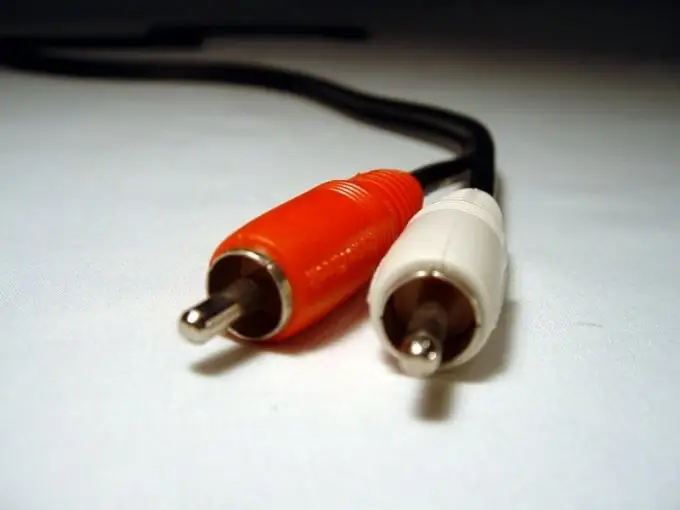
The RCA plug, also known as “tulip” in the jargon, is coaxial. It has two contacts: ring and pin. The first of them is used to connect to the common wire of the device, and the second is to supply or remove a signal. Such a connector is connected to the cable by soldering.

Necessary
- - soldering iron;
- - neutral flux;
- - solder;
- - nippers;
- - pliers.
Instructions
Step 1
Disconnect the cable that you are going to solder to the connector from any devices. Unscrew the cap from the tulip. Pass the cable through the hole in it. Slip an insulating tube over it.
Step 2
Strip the cable conductors to a length of about three millimeters. If it is shielded, first peel off the outer sheath about 10 mm, then untwist it, move it to the side and twist it. Then strip the center core 3 mm.
Step 3
Carefully tin the stripped conductors, avoiding melting of the insulation and contact between the conductors.
Step 4
Tin the connector pads for soldering conductors. Do not allow any plastic parts to melt. Pass the conductor that will be used as a common one (for a shielded cable - a braid) through the hole in the holder (it is connected to the central contact) and solder from the reverse side.
Step 5
Put a small piece of a thin insulating tube on the conductor that will be used as a signal (for a shielded cable - the central core). Pass it through the hole in the petal connected to the center pin. Then slide the tube along the guide onto the petal.
Step 6
Move the cable conduit that is attached to the cable so that it is opposite the clip on the cable holder. Clamp it in the holder with pliers together with the cable. Do not use too much force to cut the cable with the cable holder. Screw the cap onto the plug. Using an ohmmeter, check the cable for contact and short circuits. If there is no connector on the opposite end, solder it too.


