- Author Nora Macey [email protected].
- Public 2023-12-16 10:17.
- Last modified 2025-01-23 08:47.
The ability to solder can be very useful when repairing household appliances, as well as restoring breaks in cables for various purposes. However, this should not be done carelessly, but carefully and carefully, observing a number of simple rules.

It is necessary
- - soldering iron;
- - solder (tin);
- - rosin.
Instructions
Step 1
Before proceeding directly to the matter, select the optimal power of the soldering iron, since for a well-performed work it is necessary to properly warm up all the elements to be soldered.
Step 2
Find the right tip for your soldering iron. It should be comparable in size to the dimensions of the part itself, otherwise you risk either damaging the neighboring elements, or poorly soldering the wires (circuit elements).
Step 3
When working with electrical boards of any equipment, the soldering iron must be grounded in order to prevent damage to the sensitive elements of the device circuitry by static electricity or the supply voltage of the soldering iron (220 V) in the event of a tool failure.
Step 4
Before getting started, first clean the surface of the soldering iron tip and wires that need to be soldered from dirt, since grains of debris, dust and oxide can greatly affect the quality and durability of the soldering.
Step 5
After that, plug the soldering iron into the power supply and wait until it heats up to the melting point of the tin. The more powerful your instrument is, the longer you will have to wait. It is better to carefully twist the wires that you are going to solder together, since tin is a soft and brittle metal. It will not withstand even light loads.
Step 6
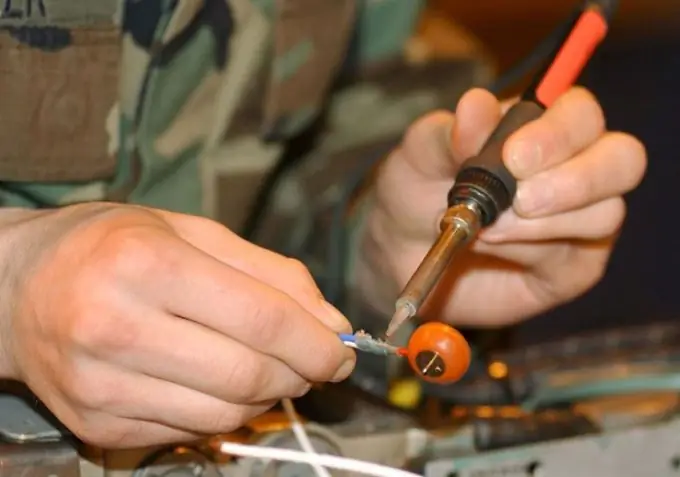
After that, dip the tip of the soldering iron in rosin and lubricate the resulting twist with it. Thus, you will provide the conditions for a good flow of tin into the place of soldering. Then dip the tip into the solder and attach it to the soldering point. Keep the soldering iron pressed down for about 2-3 seconds. During this time, the molten tin will have time to flow onto the wires (circuit elements) and properly soak all the microcracks around.
Step 7
Now inspect the soldering area. The tin should lie evenly and shine. If there is not enough solder, and in some places some twisting is noticeable or the wires are not fixed, you must repeat the steps from the previous step. Remember that the soldering iron cannot be held down for too long. Otherwise, you risk overheating the ration. In this case, the tin will lose its luster, darken, and possibly turn into black spots.
Step 8
In such a situation, the soldering can be broken by simply pressing the nail, so you will need to carefully remove all the solder, clean the soldering iron again and repeat all the above steps.


