- Author Nora Macey macey@family-relation.com.
- Public 2023-12-16 10:17.
- Last modified 2025-01-23 08:47.
The secret of the shooter's accuracy lies not only in skill and special flair, but also in the correctness and accuracy of the scope setting. Professionals align the scope quickly, but beginners usually have to work hard.

Instructions
Step 1
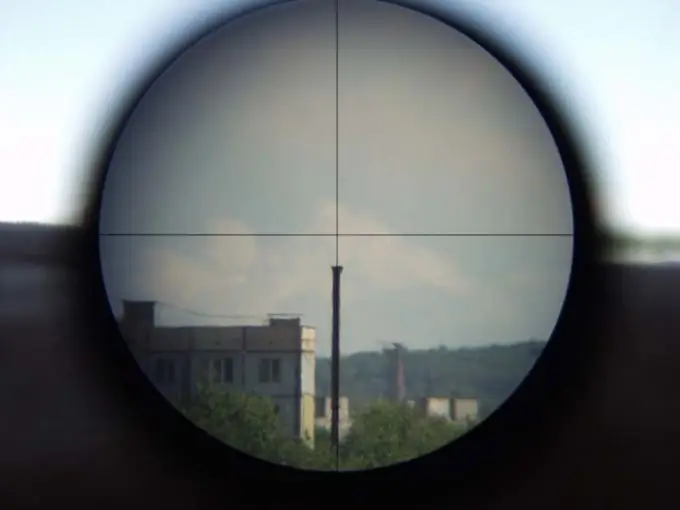
The main thing in setting up a sight is leveling it. It is good if there is a special bed equipped with bubble levels. Fix the rifle in it and hang a plumb line at a distance. Balance the rifle with bubbles. Look through the optics - you should see the reticle relative to the plumb line. If the vertical line of the reticle is not parallel to the plumb line, then the sight is swung to the left or right. You can't leave it like that, because then, when firing at different distances, the bullets will deflect to the sides.
Step 2
Align the vertical stump of the reticle so that it is parallel to the line or plumb line. To do this, loosen the clamps that tighten the brackets and begin to rotate the riflescope until the plumb line and the vertical line of the reticle are parallel. It is imperative that you look at the level bubbles, because the level can be knocked down completely by accident. When the position of the sight is adjusted, tighten the screws of the clamps again. Now the sight is correctly level.
Step 3
When you level the scope and take the rifle in hand, you may mistakenly determine that the scope is crooked relative to the rifle. It's okay, just the optical guides are unevenly milled. The main thing is the position of the plumb line relative to the aiming mark, as mentioned above. So it is not necessary to expose the sight to the eye relative to the brackets. Otherwise, the bullets will deflect to the sides.
Step 4
It happens that there is no bed with level bubbles at hand. Take a strong nylon cord that will not break under the weight of the rifle, and the same plumb line. Make a loop of the cord and attach the telescopic sight.
Step 5
Attach the other end of the cord to a stop. In short, hang the rifle horizontally. Let it balance in the vertical plane. It is important here that the loop holds the sight at the center of gravity of the rifle. Let the rifle bite down a little or lift the barrel slightly, but it should hang in a vertical plane.
Step 6
Now set the vertical line of the reticle parallel to the plumb line. Loosen the clamp screws and tighten gradually, alternately, by one or two turns, and not immediately first one, then the other. So you can skew. Move from one bracket to the next until you tighten everything correctly.


